
No joke. We have 5 of these suckers. Two of them live in Ethan's room holding some of his things as well as some odds and ends that don't fit elsewhere...for the moment. (I give that caveat as I fully intend to have a thorough purge of all of our useless crap this summer to make the house more tidy. I will triumph.)
So back to the bookshelves: I decided that the more pathetic of our two bookshelves living in the nursery could use a bit of love. See, it was the first one I tried to put together all on my own back at the old flat, and it shows. The backing is a bit tattered-looking. And anyway, in such an otherwise brightly-coloured room, this thing was a bit boring. In a room for babies (that's eventual babies...right now we have no plans to pluralise our single child!), while you don't want things to be overwhelming like a circus funhouse, some colour and pattern wouldn't go amiss.
We had walked to the local Sainsbury's earlier in the day and stumbled across a really nice wrapping paper. I wasn't actually there for the wrapping paper - but I needed to nip into the home goods section to replace a picture frame I broke getting out of bed. (Yup, I'm that clumsy.) I'd been thinking about this project for a while, so when I saw the rolls of wrapping paper in the store, I immediately thought, "oh, what the heck," and promptly grabbed two rolls with the intention of backing that bookcase during Ethan's nap.

Because the paper was so thin, it was easier to work with it in smaller sections, rather than trying to get a whole piece that measured the width of the bookcase. This way, I had fewer problems with going crooked or measuring incorrectly. Plus, I tended to overlap my pieces by a row of the pattern. I didn't bother trying to match it up exactly, and you'll see why in a moment. Anyway, the effect isn't ruined by letting the pattern get a bit mismatched.
 |
| lovely! |
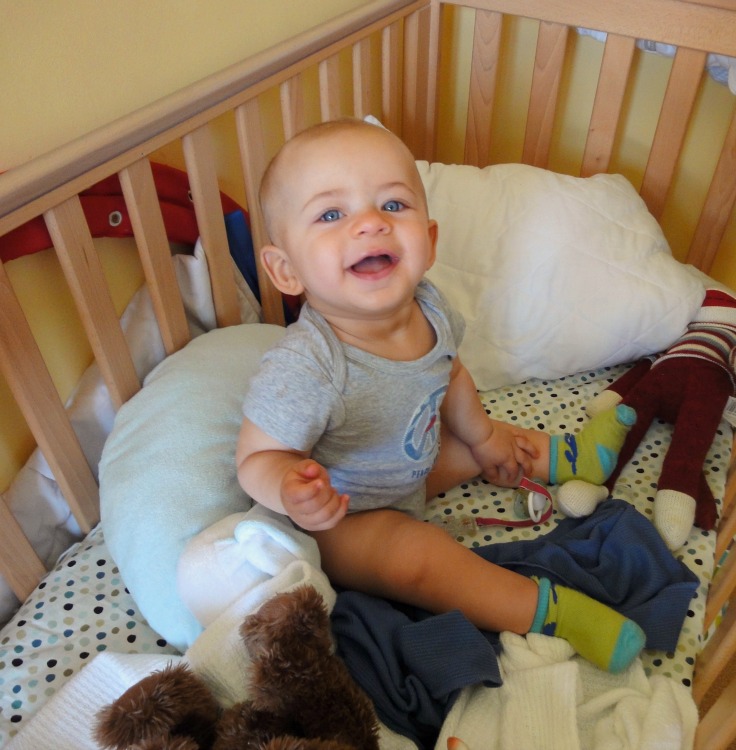 |
| A happy boy after his nap finds a colourful surprise in his room. |
 |
| Because cute baby Wellies and happy polka dots make me smile. |
No comments:
Post a Comment